Install minimal Debian
Start from a minimal Debian-compatible image suitable for the hardware vendor's display, printer, scanner, and network requirements.
 Start trial
Install guide
Saleculator can run like a dedicated POS device on Raspberry Pi class hardware: boot, show the Saleculator bootstrap loader, and continue directly to the PIN login screen.
Start from a minimal Debian-compatible image suitable for the hardware vendor's display, printer, scanner, and network requirements.
Install Java 17. MySQL may be local for a single device or central on another machine for multi-device shops.
Unpack the runtime ZIP, run preflight, and verify that Saleculator starts from the bundled Linux script.
Configure the device to show the Saleculator bootstrap loader at boot and continue directly to the Saleculator PIN login screen.
Checklist
Product visuals
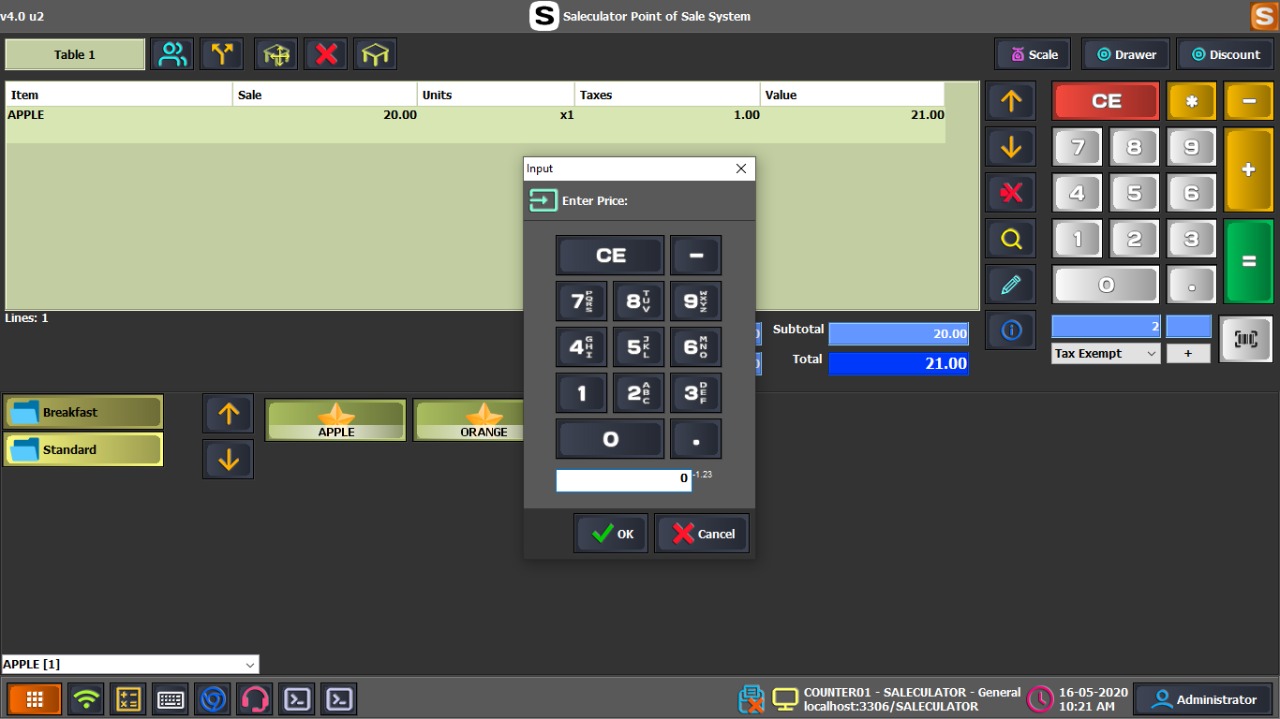 Screenshot
Show the business profile, counter mode, receipt details, and activation flow for this setup path.
Screenshot or videoShow the successful PIN login screen, test sale, receipt preview or print, and backup confirmation.
Using an AI agent?
If you use an AI assistant or technician to set up Saleculator, give it this prompt so it follows the customer install flow and does not skip trial, receipt, device, and backup checks.
Help me install Saleculator POS on this computer for a real shop counter.

Goals:
- Download the latest Saleculator Windows installer from https://saleculator.com/downloads/
- Install Saleculator using the normal customer setup flow.
- Complete business setup with my shop name, address, tax details, receipt footer, and counter mode.
- Start Saleculator and use START TRIAL on the activation screen to request the 30-day trial.
- Confirm I can reach the PIN login screen after activation.
- Add a few sample products and run one test sale.
- Test receipt print or receipt preview.
- Confirm reports open correctly.
- Confirm backup or support information is ready before live billing.

Important rules:
- Do not enter or expose passwords, serial keys, database passwords, or private business data in chat.
- Do not delete existing POS data unless I explicitly approve it.
- Do not change tax, GST, VAT, ZATCA, UAE eInvoice, or invoice settings without asking me first.
- If this is a network POS setup, ask whether this machine is the main POS or a client counter before changing settings.
- Stop and ask me before making destructive changes or uninstalling any existing POS software.
Guided setup support
Saleculator can be evaluated by a shop owner, installed by a reseller, or prepared by a hardware vendor. Start with the right business type, confirm the counter devices, complete the trial activation, and test one full billing flow before go-live.
Download the Windows installer, enter business and receipt details during setup, start the 30-day trial, then test billing, receipt printing, reports, and backup with sample products.
Prepare the customer profile, device list, receipt format, tax settings, users, and backup plan before handover. Confirm the customer can complete daily billing without depending on the installer.
Use the vendor package for controlled rollouts on POS devices, Linux, and Raspberry Pi class hardware. Validate display, printer, scanner, cash drawer, network, reboot, and recovery behavior before delivery.
Use a reliable central database machine and connect every counter to the same shop database so products, sales, and reports stay consistent across counters.